Difference between revisions of "3D Photo Gallery"
From OCE Space Simulation
(Photo Gallery) |
(Adding more pictures) |
||
| Line 1: | Line 1: | ||
{{wip}} | {{wip}} | ||
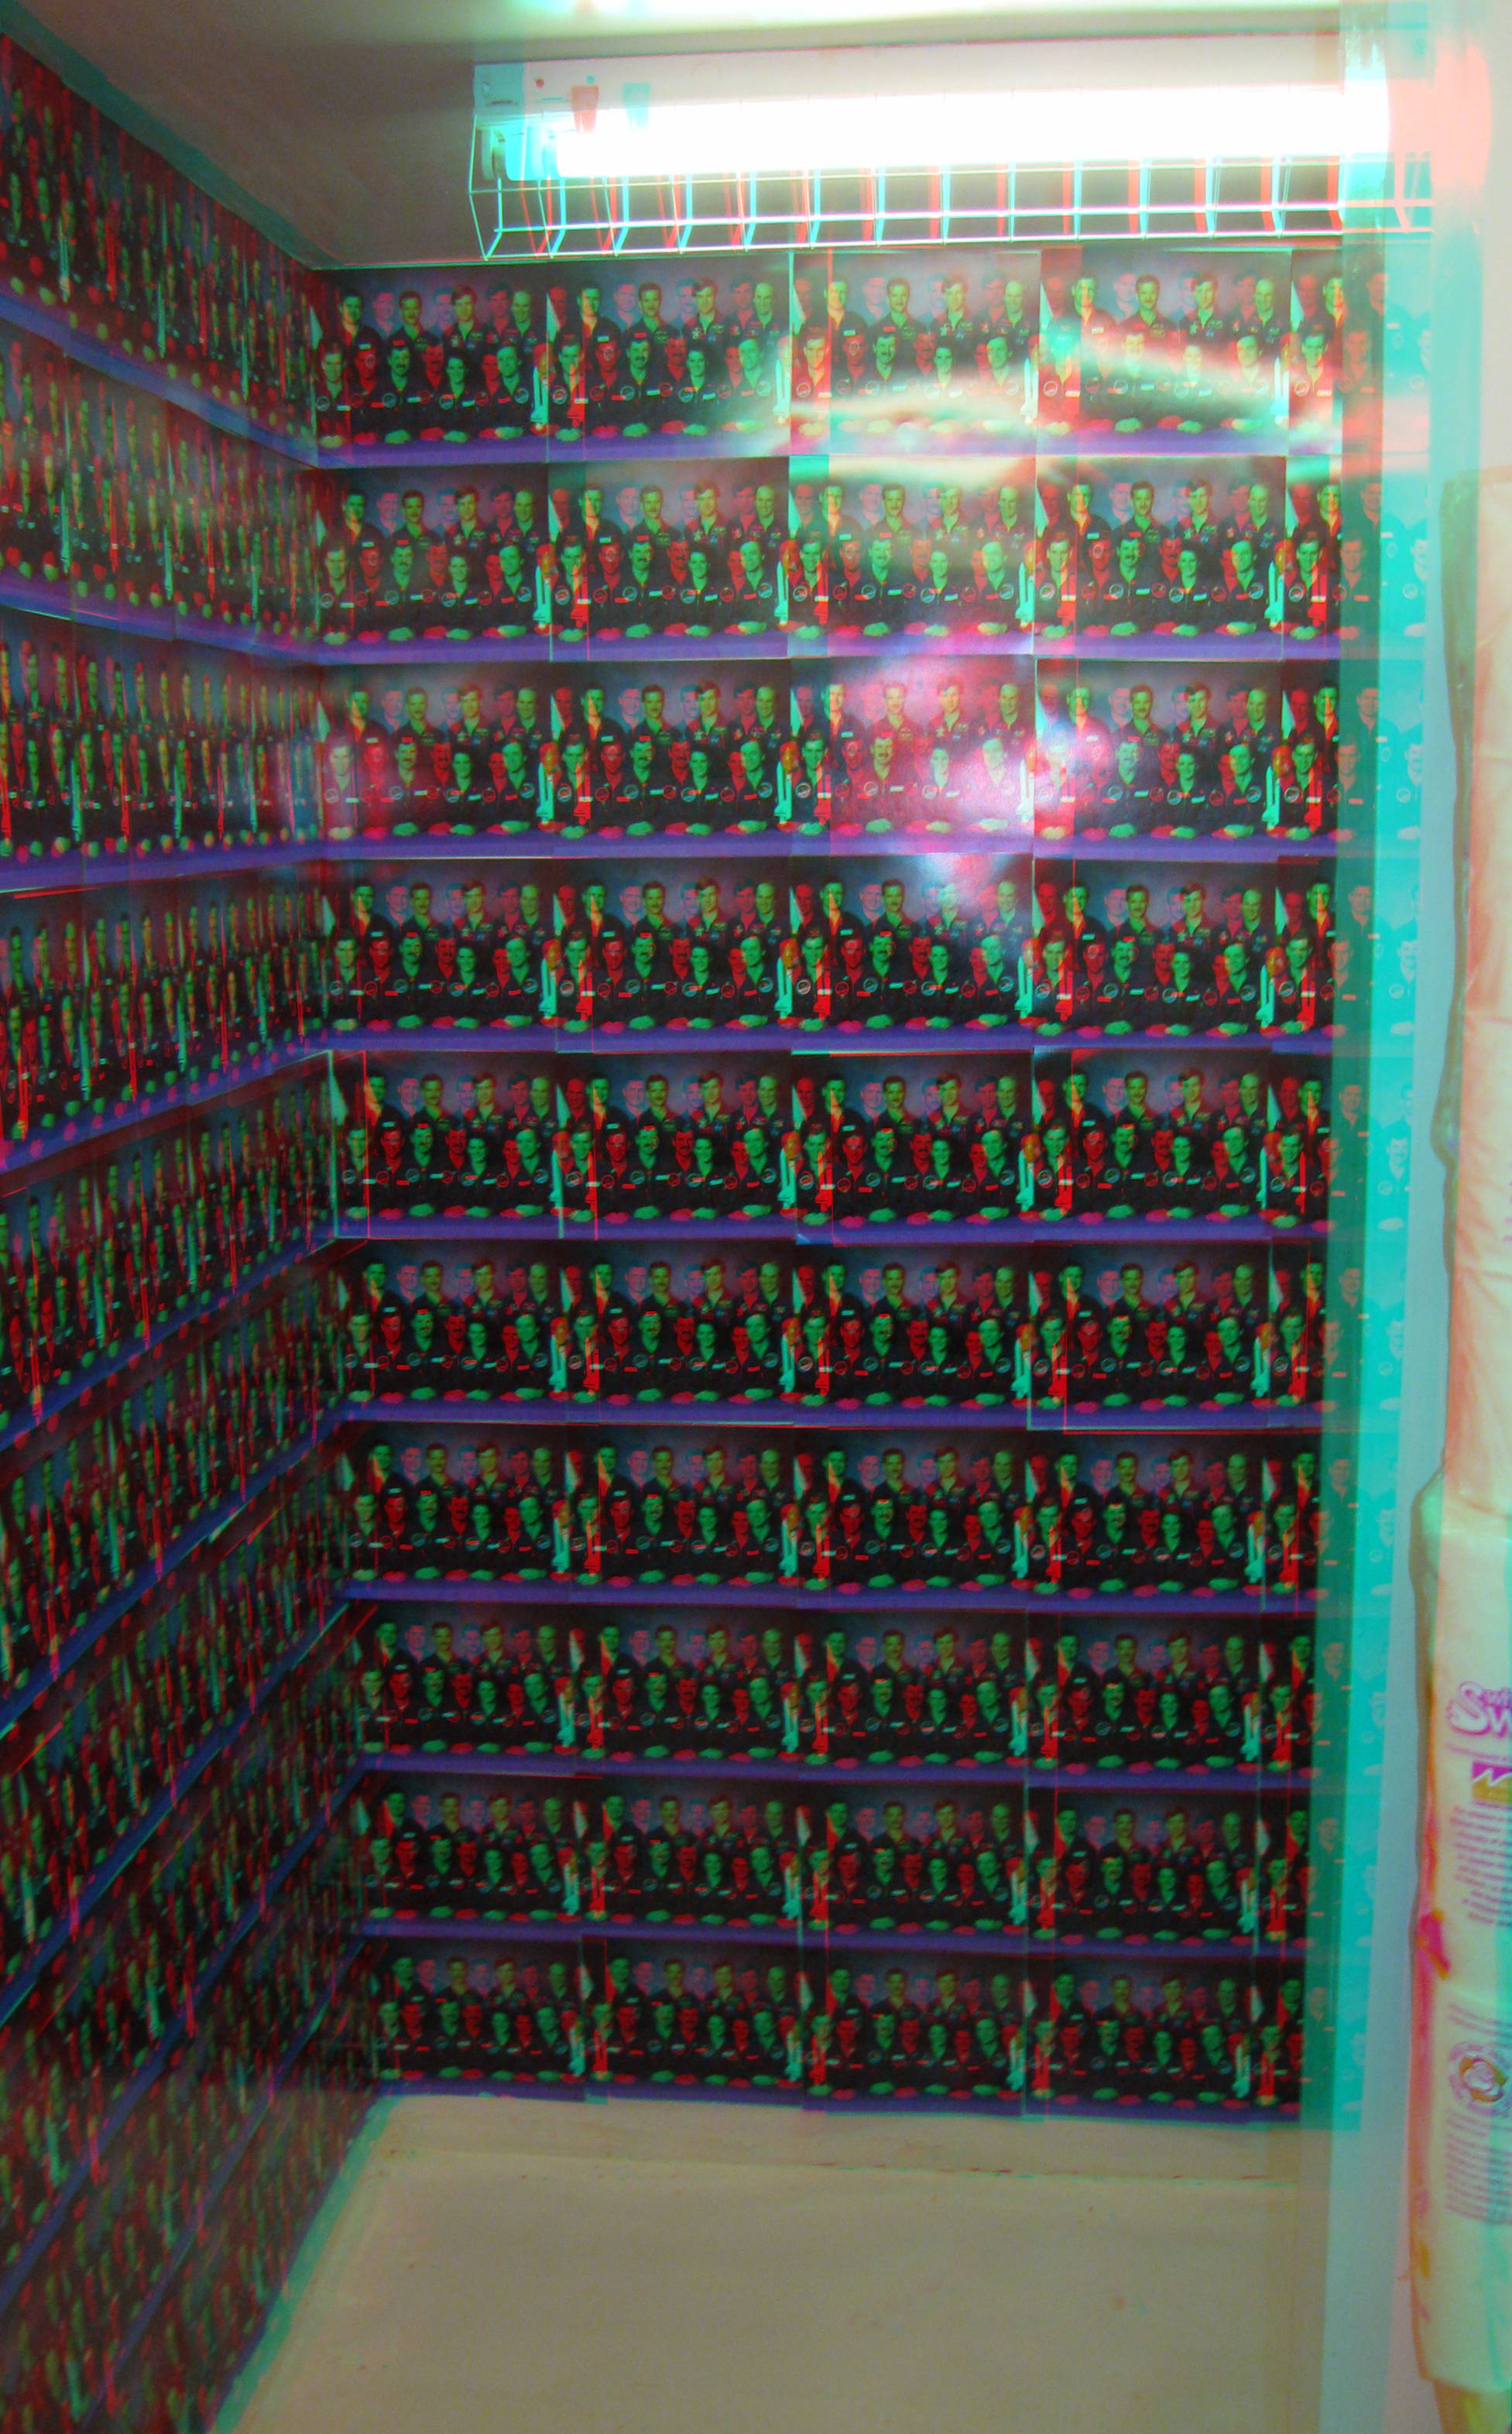
| − | [[Image: | + | [[Image:Bathroom_Wall_3D.jpg|center|thumb|500px|A picture of the Bathroom wall in the Hawking III]] |
| − | [[Image: | + | |
| − | [[Image:Bathroom_Eye_Count_3D.jpg]] | + | [[Image:Bathroom_Looking_Into_Interlock_3D.jpg|center|thumb|500px|A view of the bathroom looking into the interlock in the Hawking III]] |
| − | [[Image: | + | |
| − | [[Image: | + | [[Image:Bathroom_From_Interlock_3D.jpg|center|thumb|500px|A view of the bathroom from the Interlock in the Hawking III]] |
| − | [[Image: | + | |
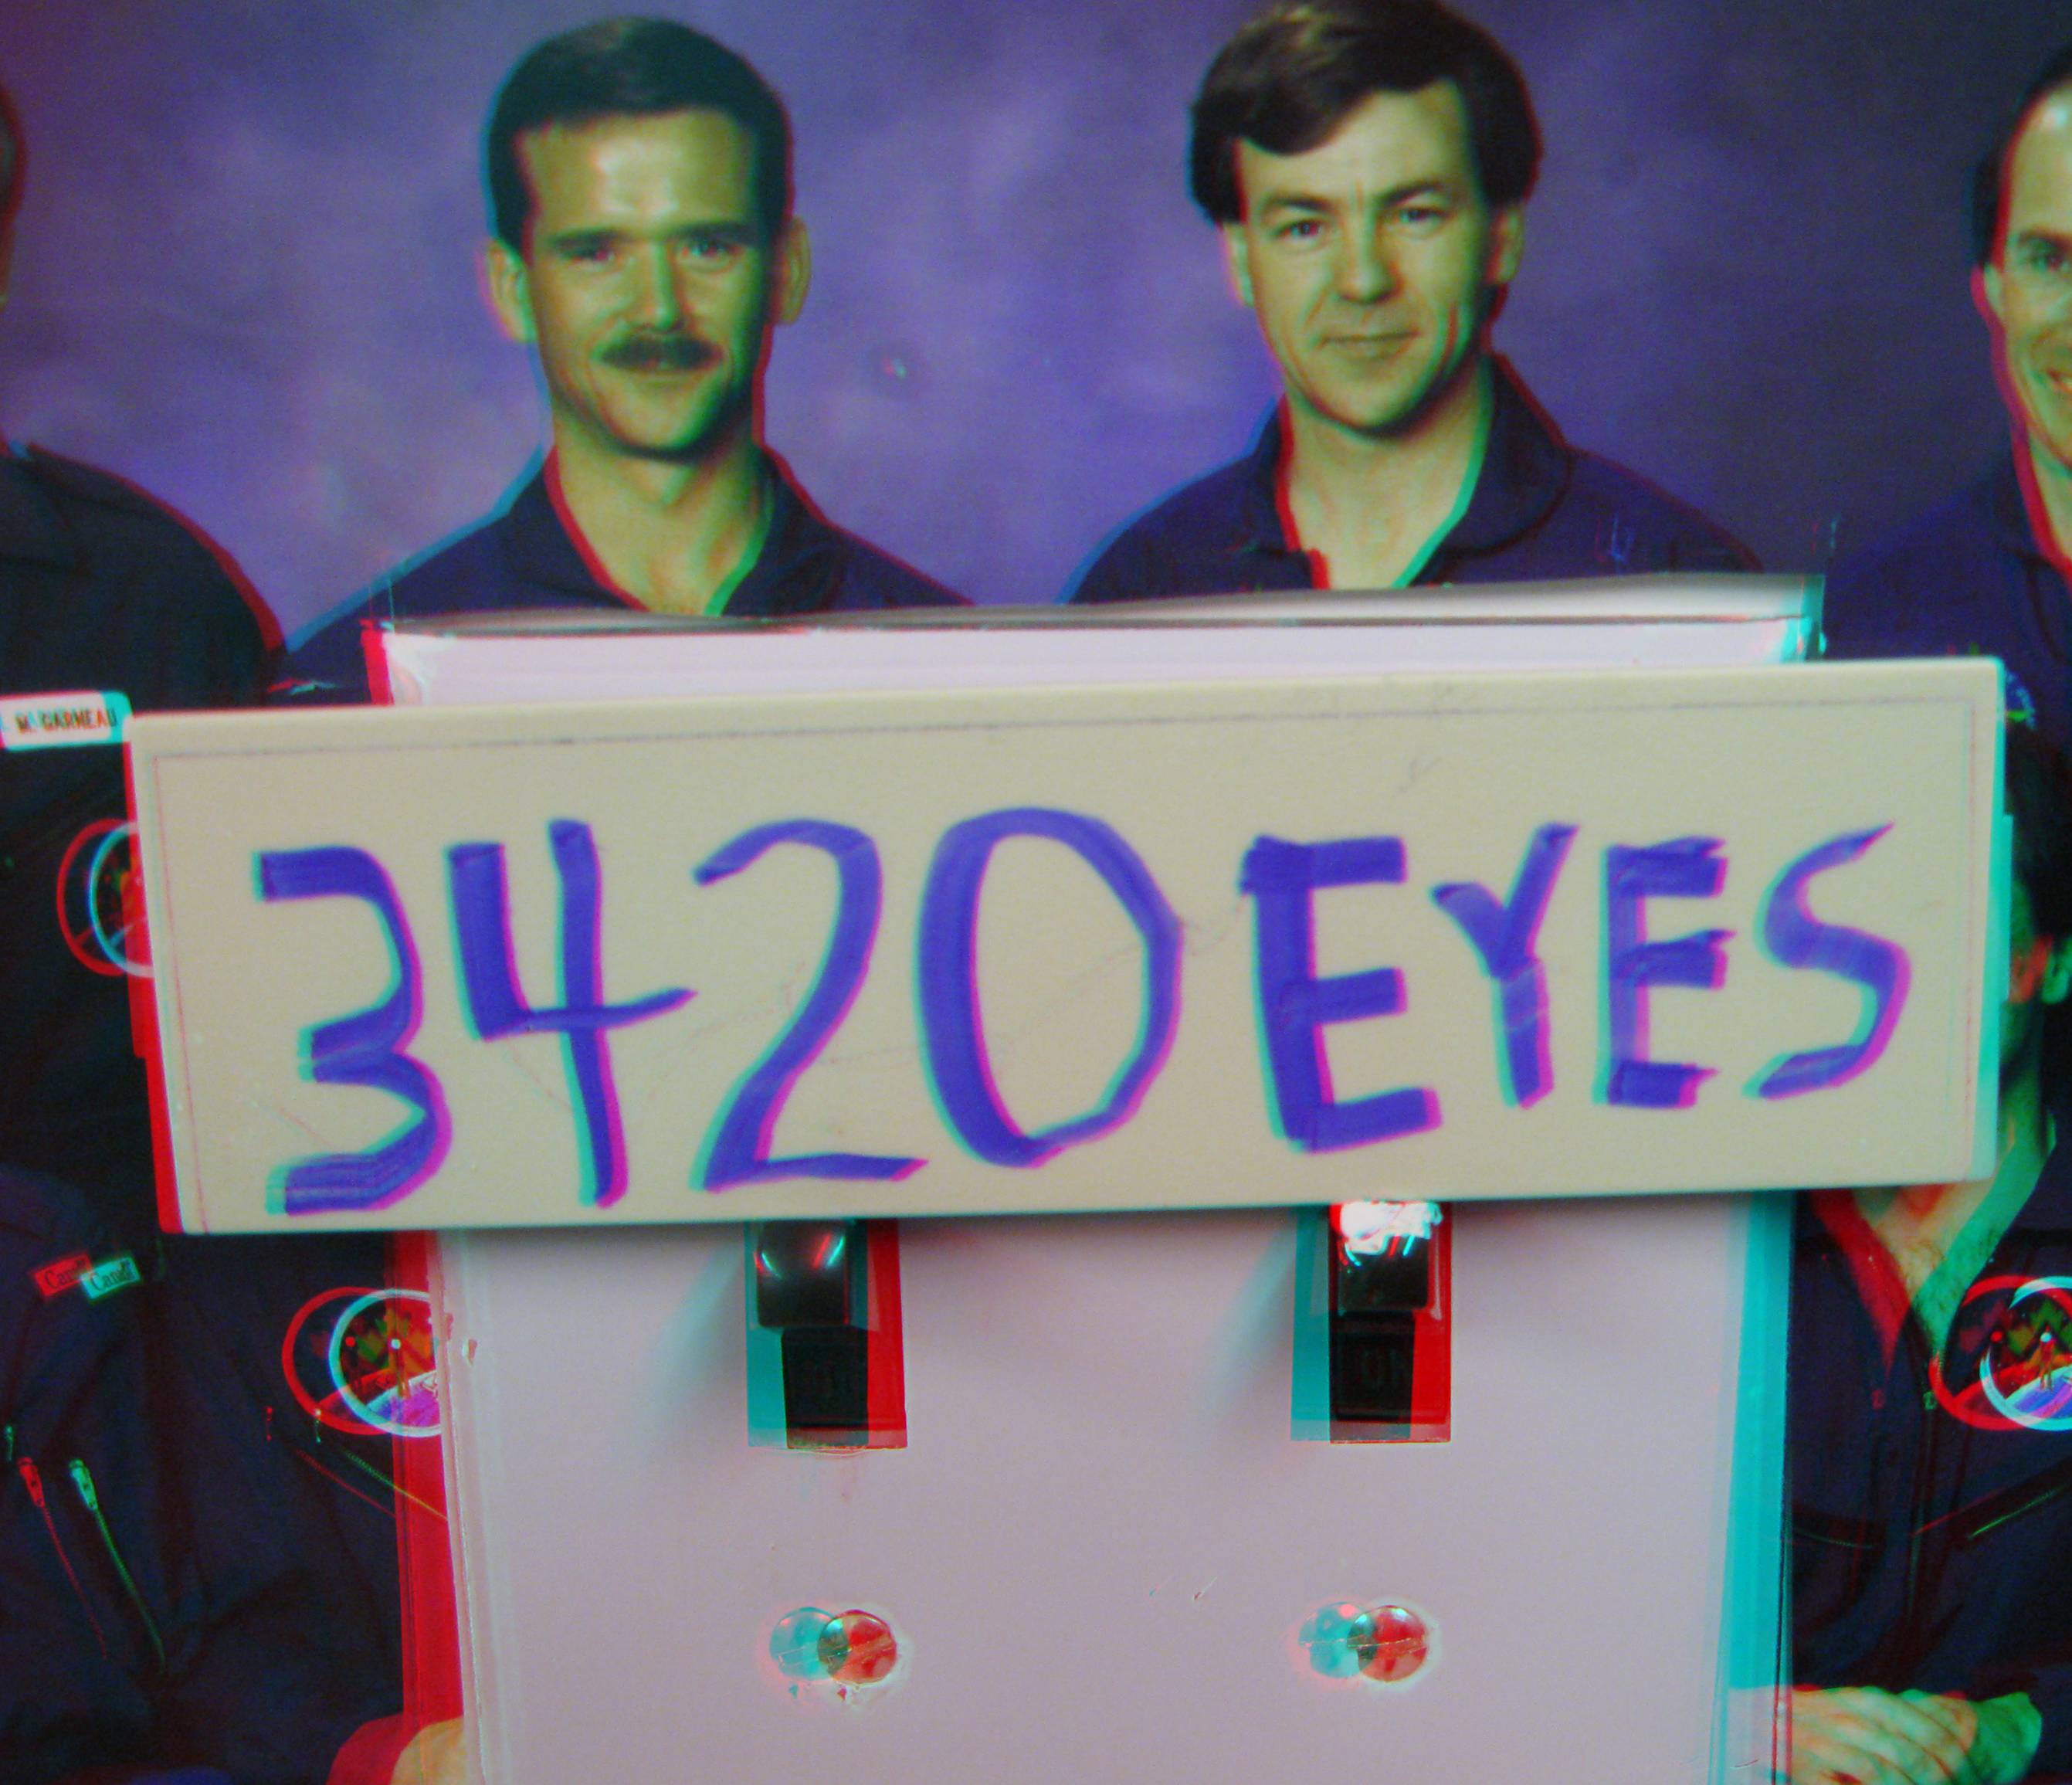
| + | [[Image:Bathroom_Eye_Count_3D.jpg|center|thumb|500px|A panel on the bathroom light switches that has the eye count in the bathroom in the Hawking III]] | ||
| + | |||
| + | [[Image:Bathroom_Door_3D.jpg|center|thumb|500px|The Bathroom door in the Hawking III]] | ||
| + | |||
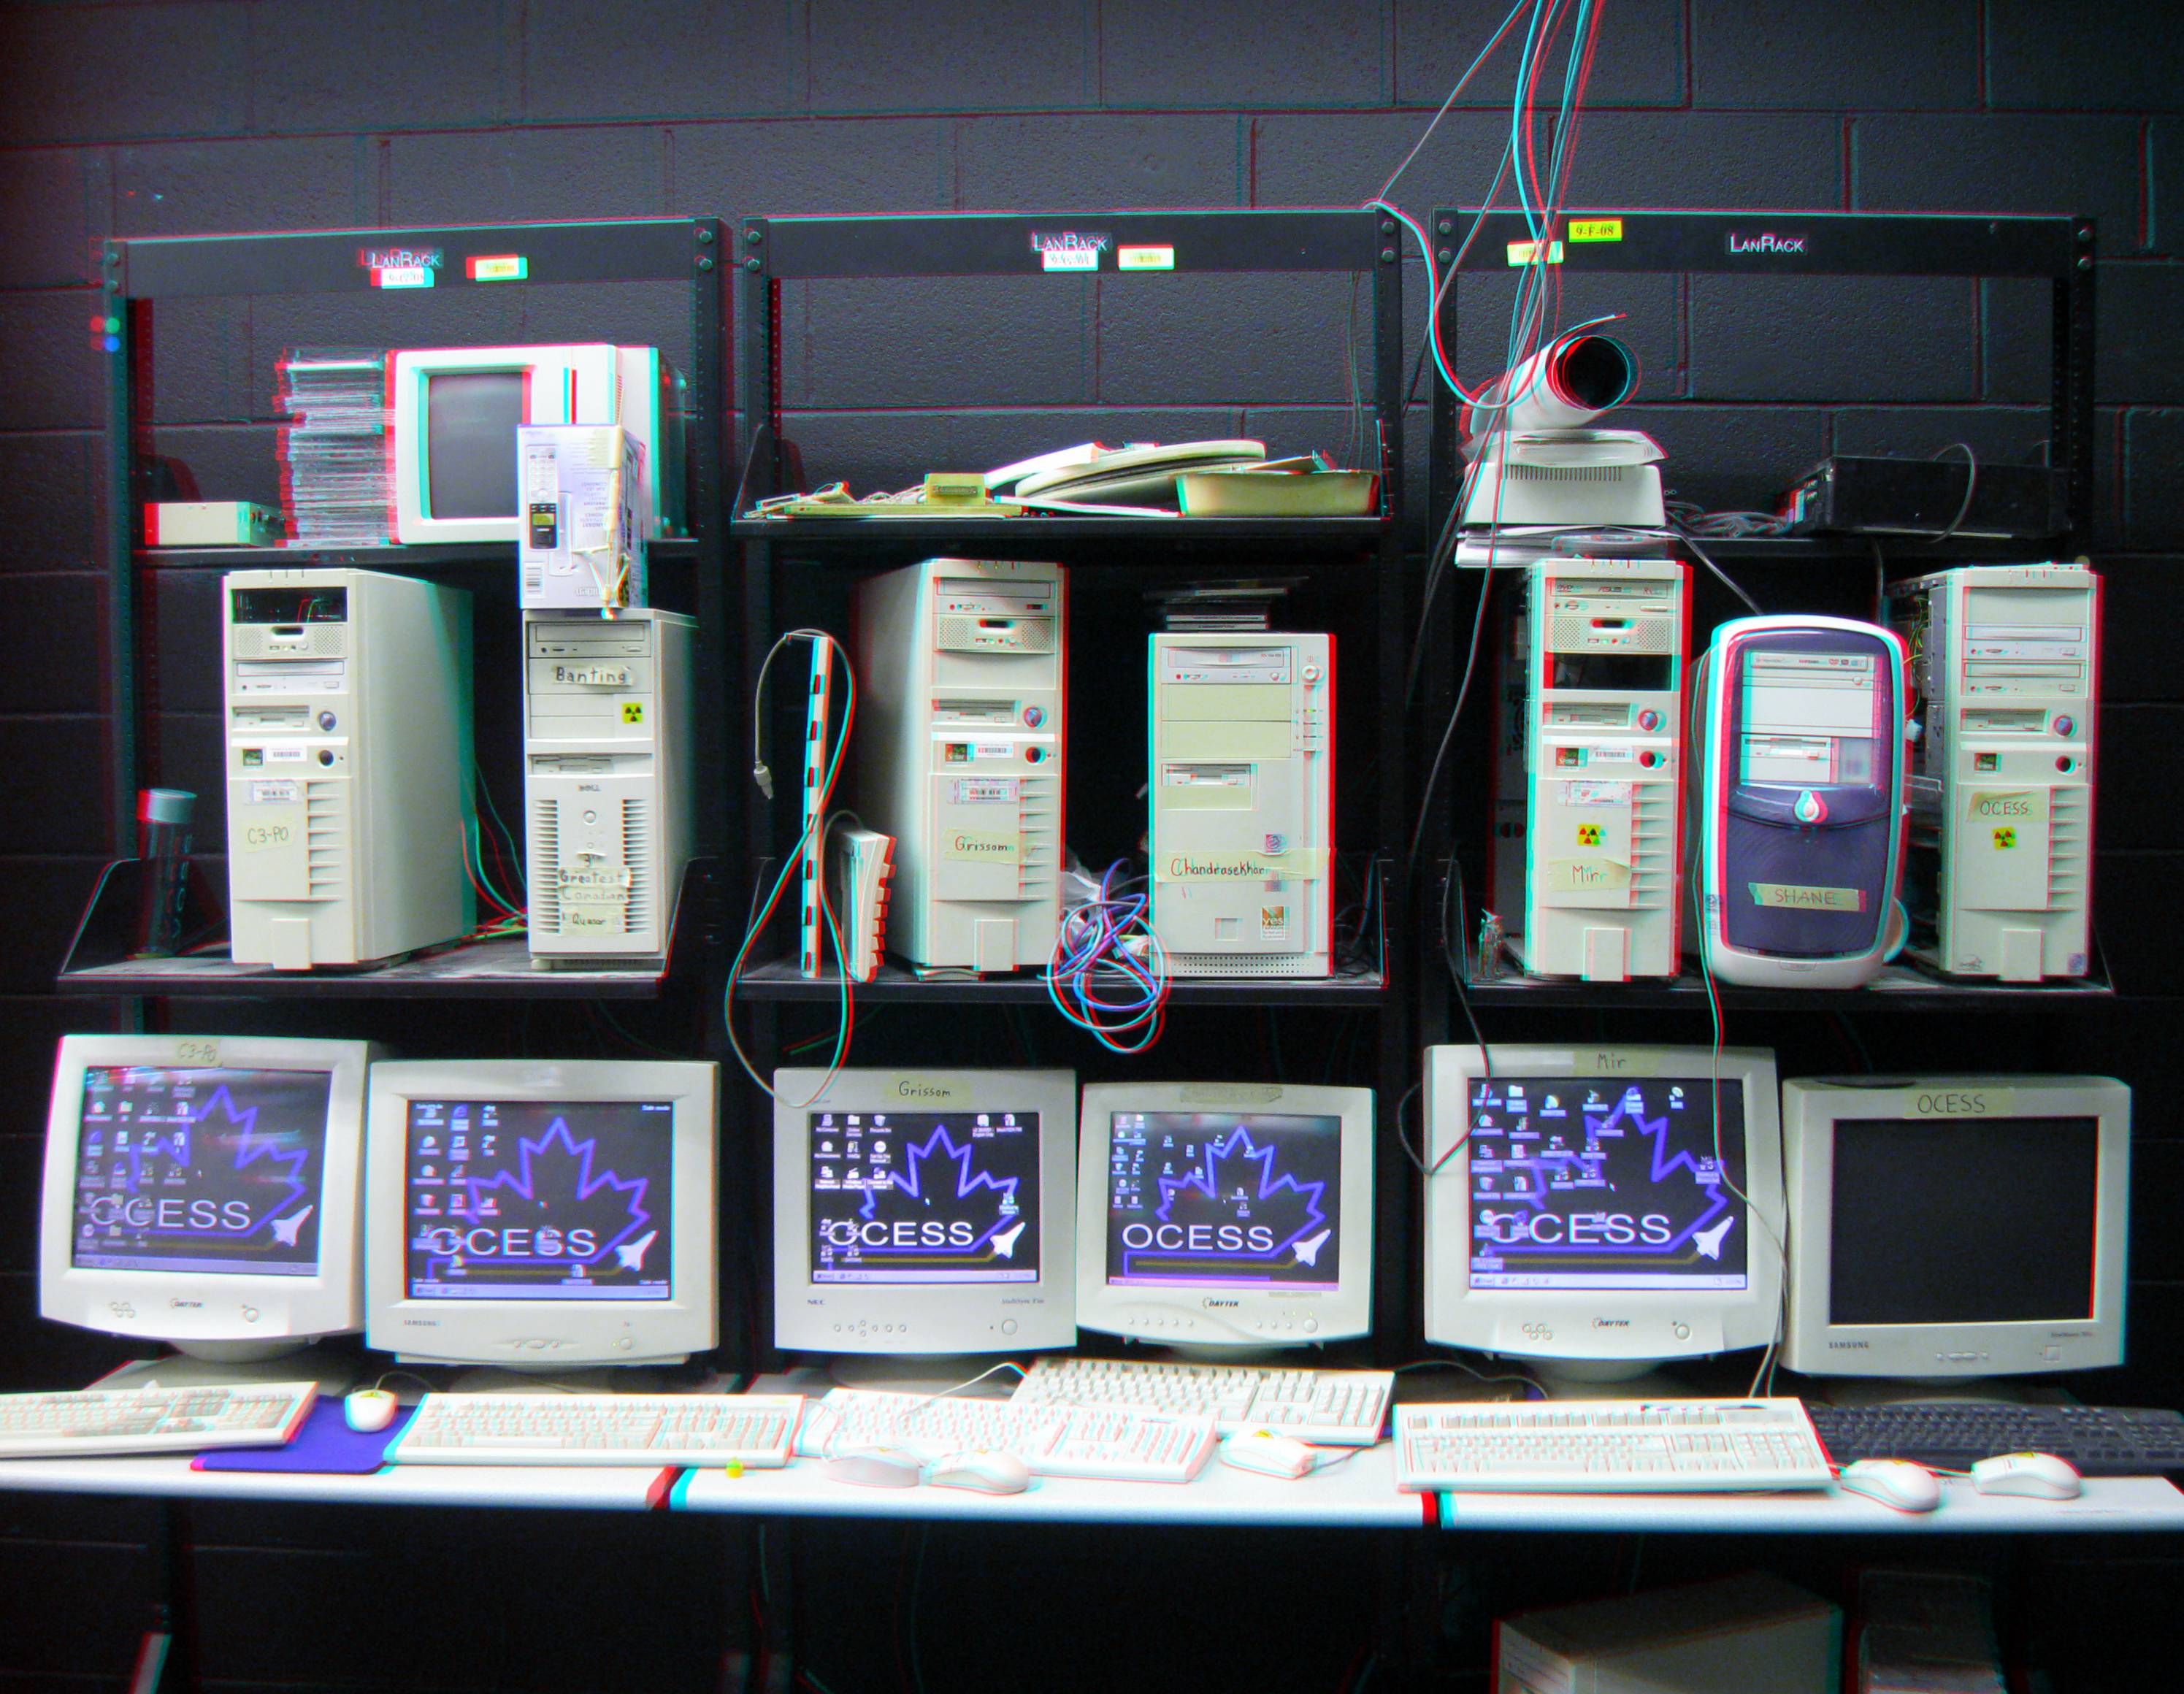
| + | [[Image:440_MC_3D.jpg|center|thumb|500px|MC at 440 Albert Street]] | ||
| + | |||
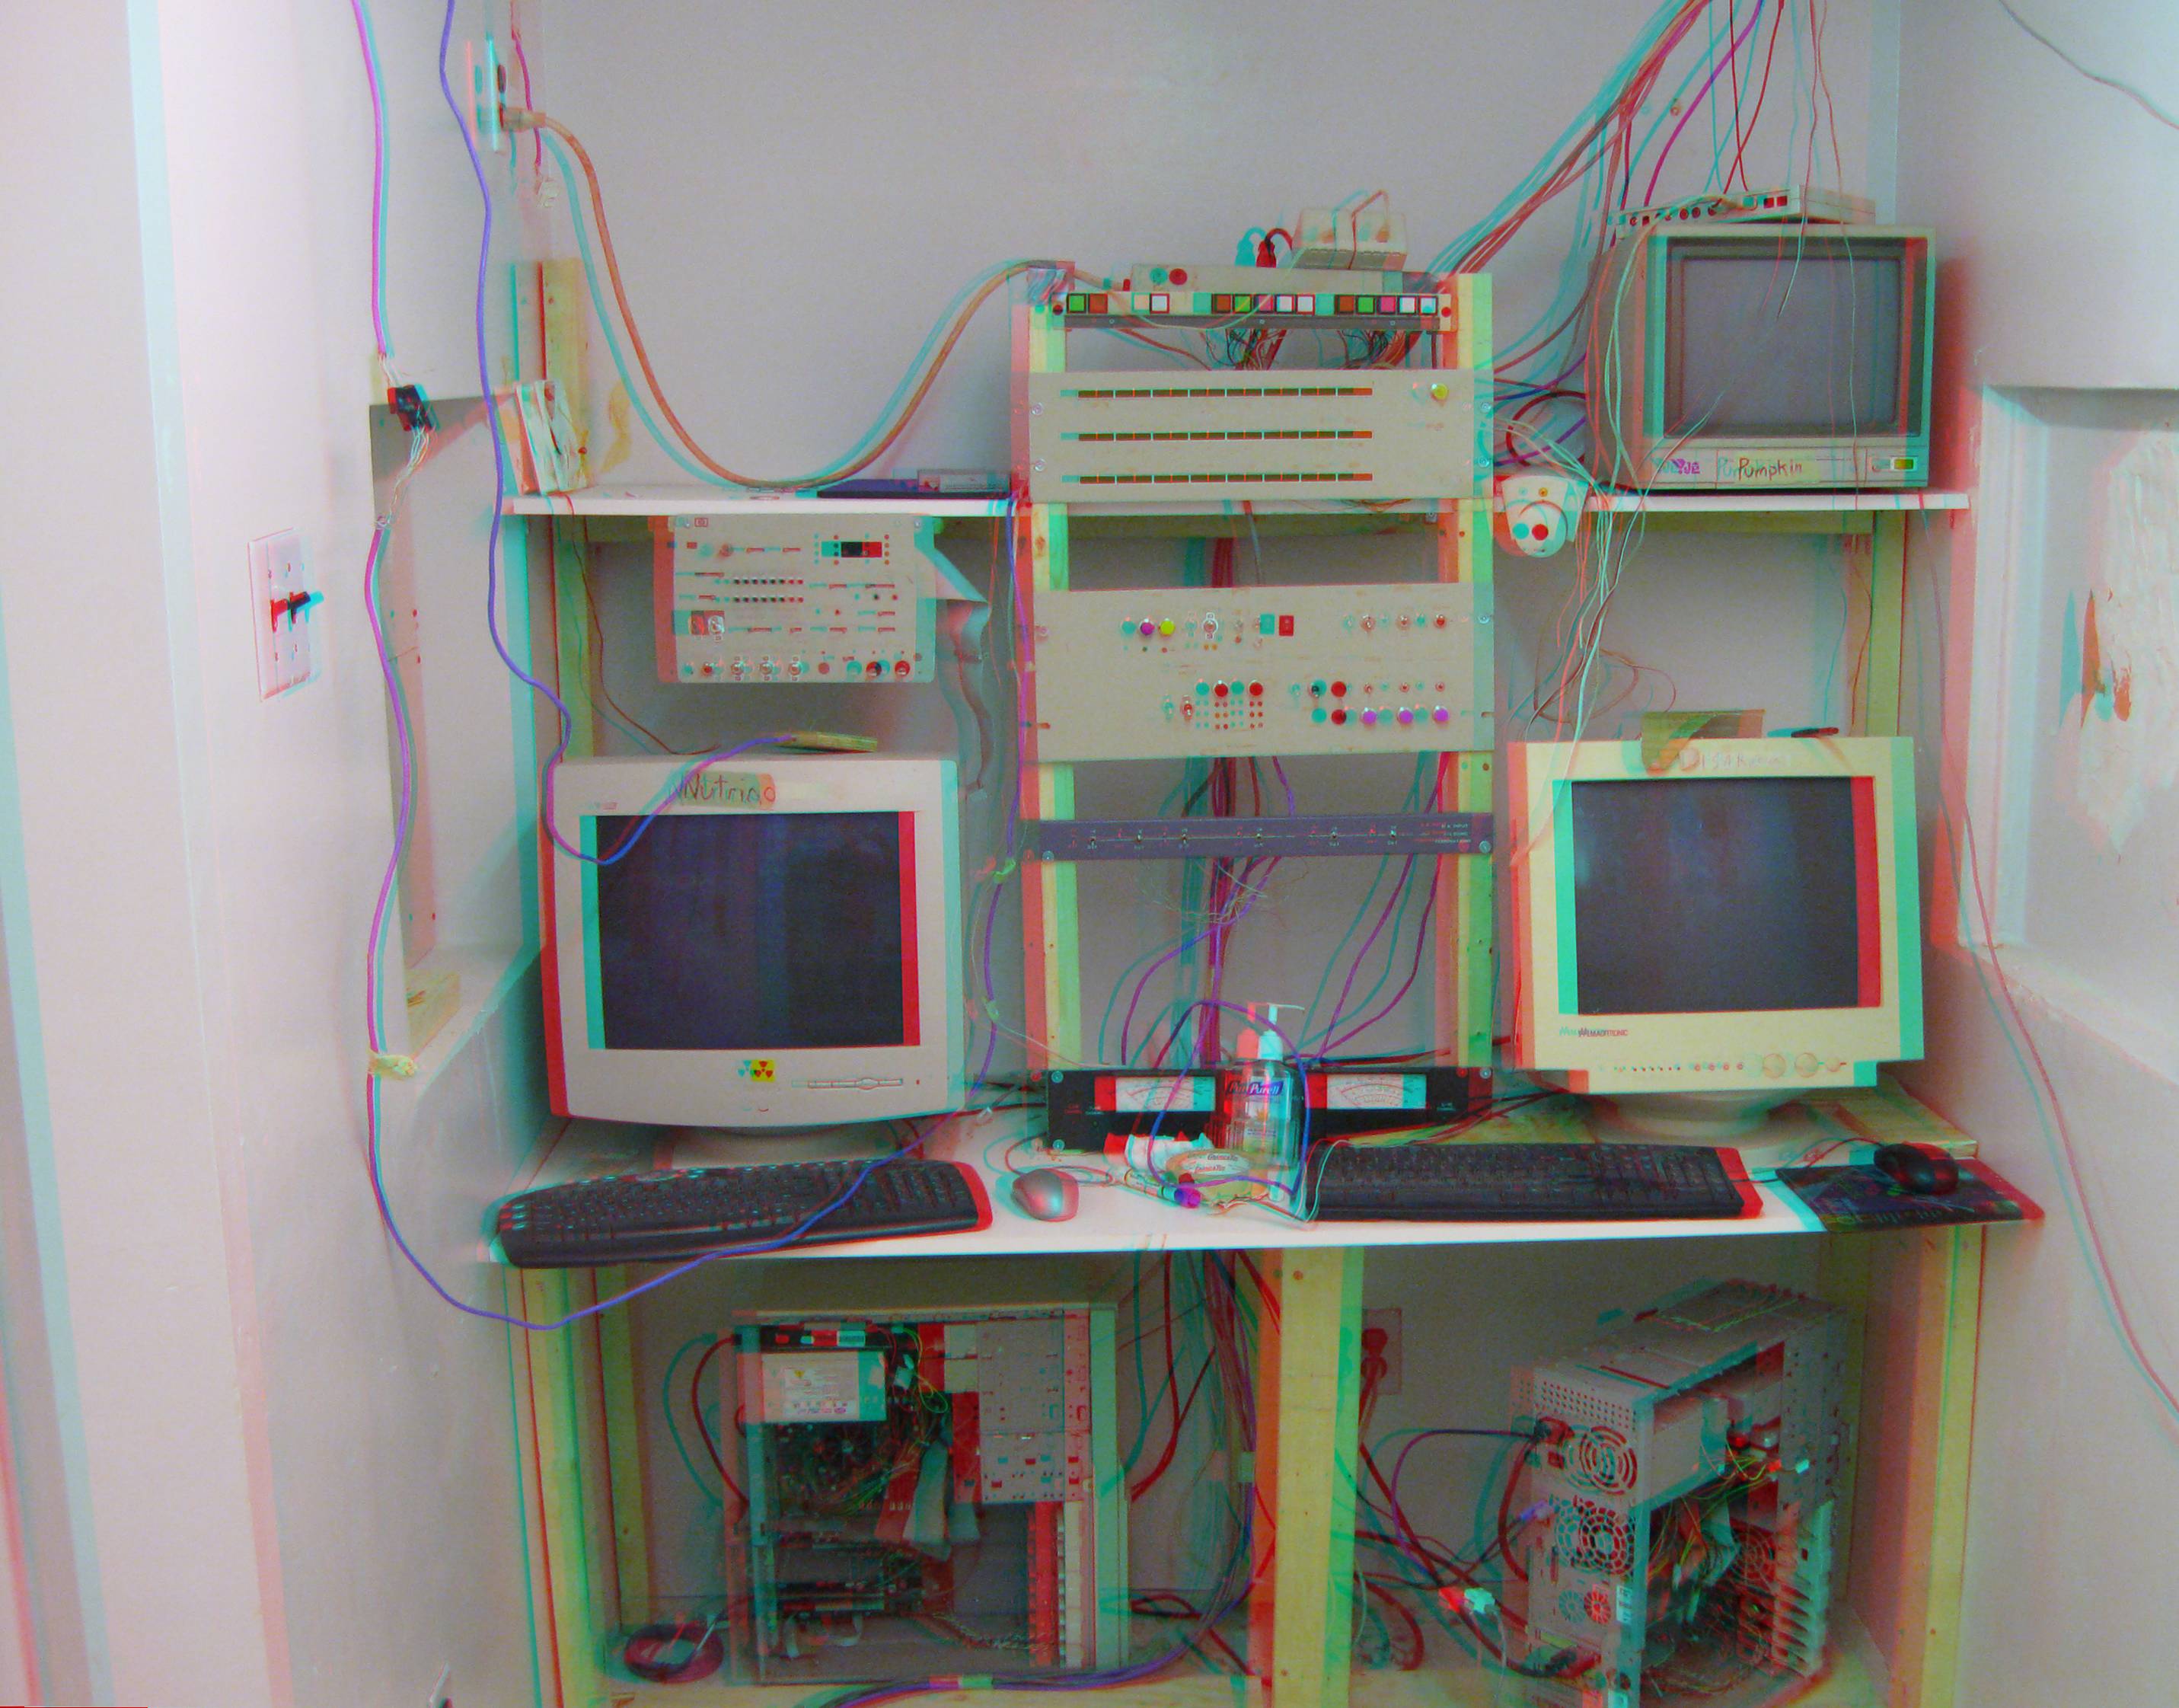
| + | [[Image:CNC Left 3D.jpg|center|thumb|500px|The left side of Command and Control in the Hawking III]] | ||
| + | |||
| + | [[Image:CNC Right 3D.jpg|center|thumb|500px|The right side of Command and Control in the Hawking III]] | ||
| + | |||
| + | [[Image:HAB Overlook 3D.jpg|center|thumb|500px|An overview of the Hawking III at 440 Albert street]] | ||
| + | |||
| + | [[Image:Interlock 3D.jpg|center|thumb|500px|The interlock in the Hawking III]] | ||
| + | |||
| + | [[Image:Keplernicus 3D.jpg|center|thumb|500px|The inside view of the storage closet at 440 Albert street]] | ||
| + | |||
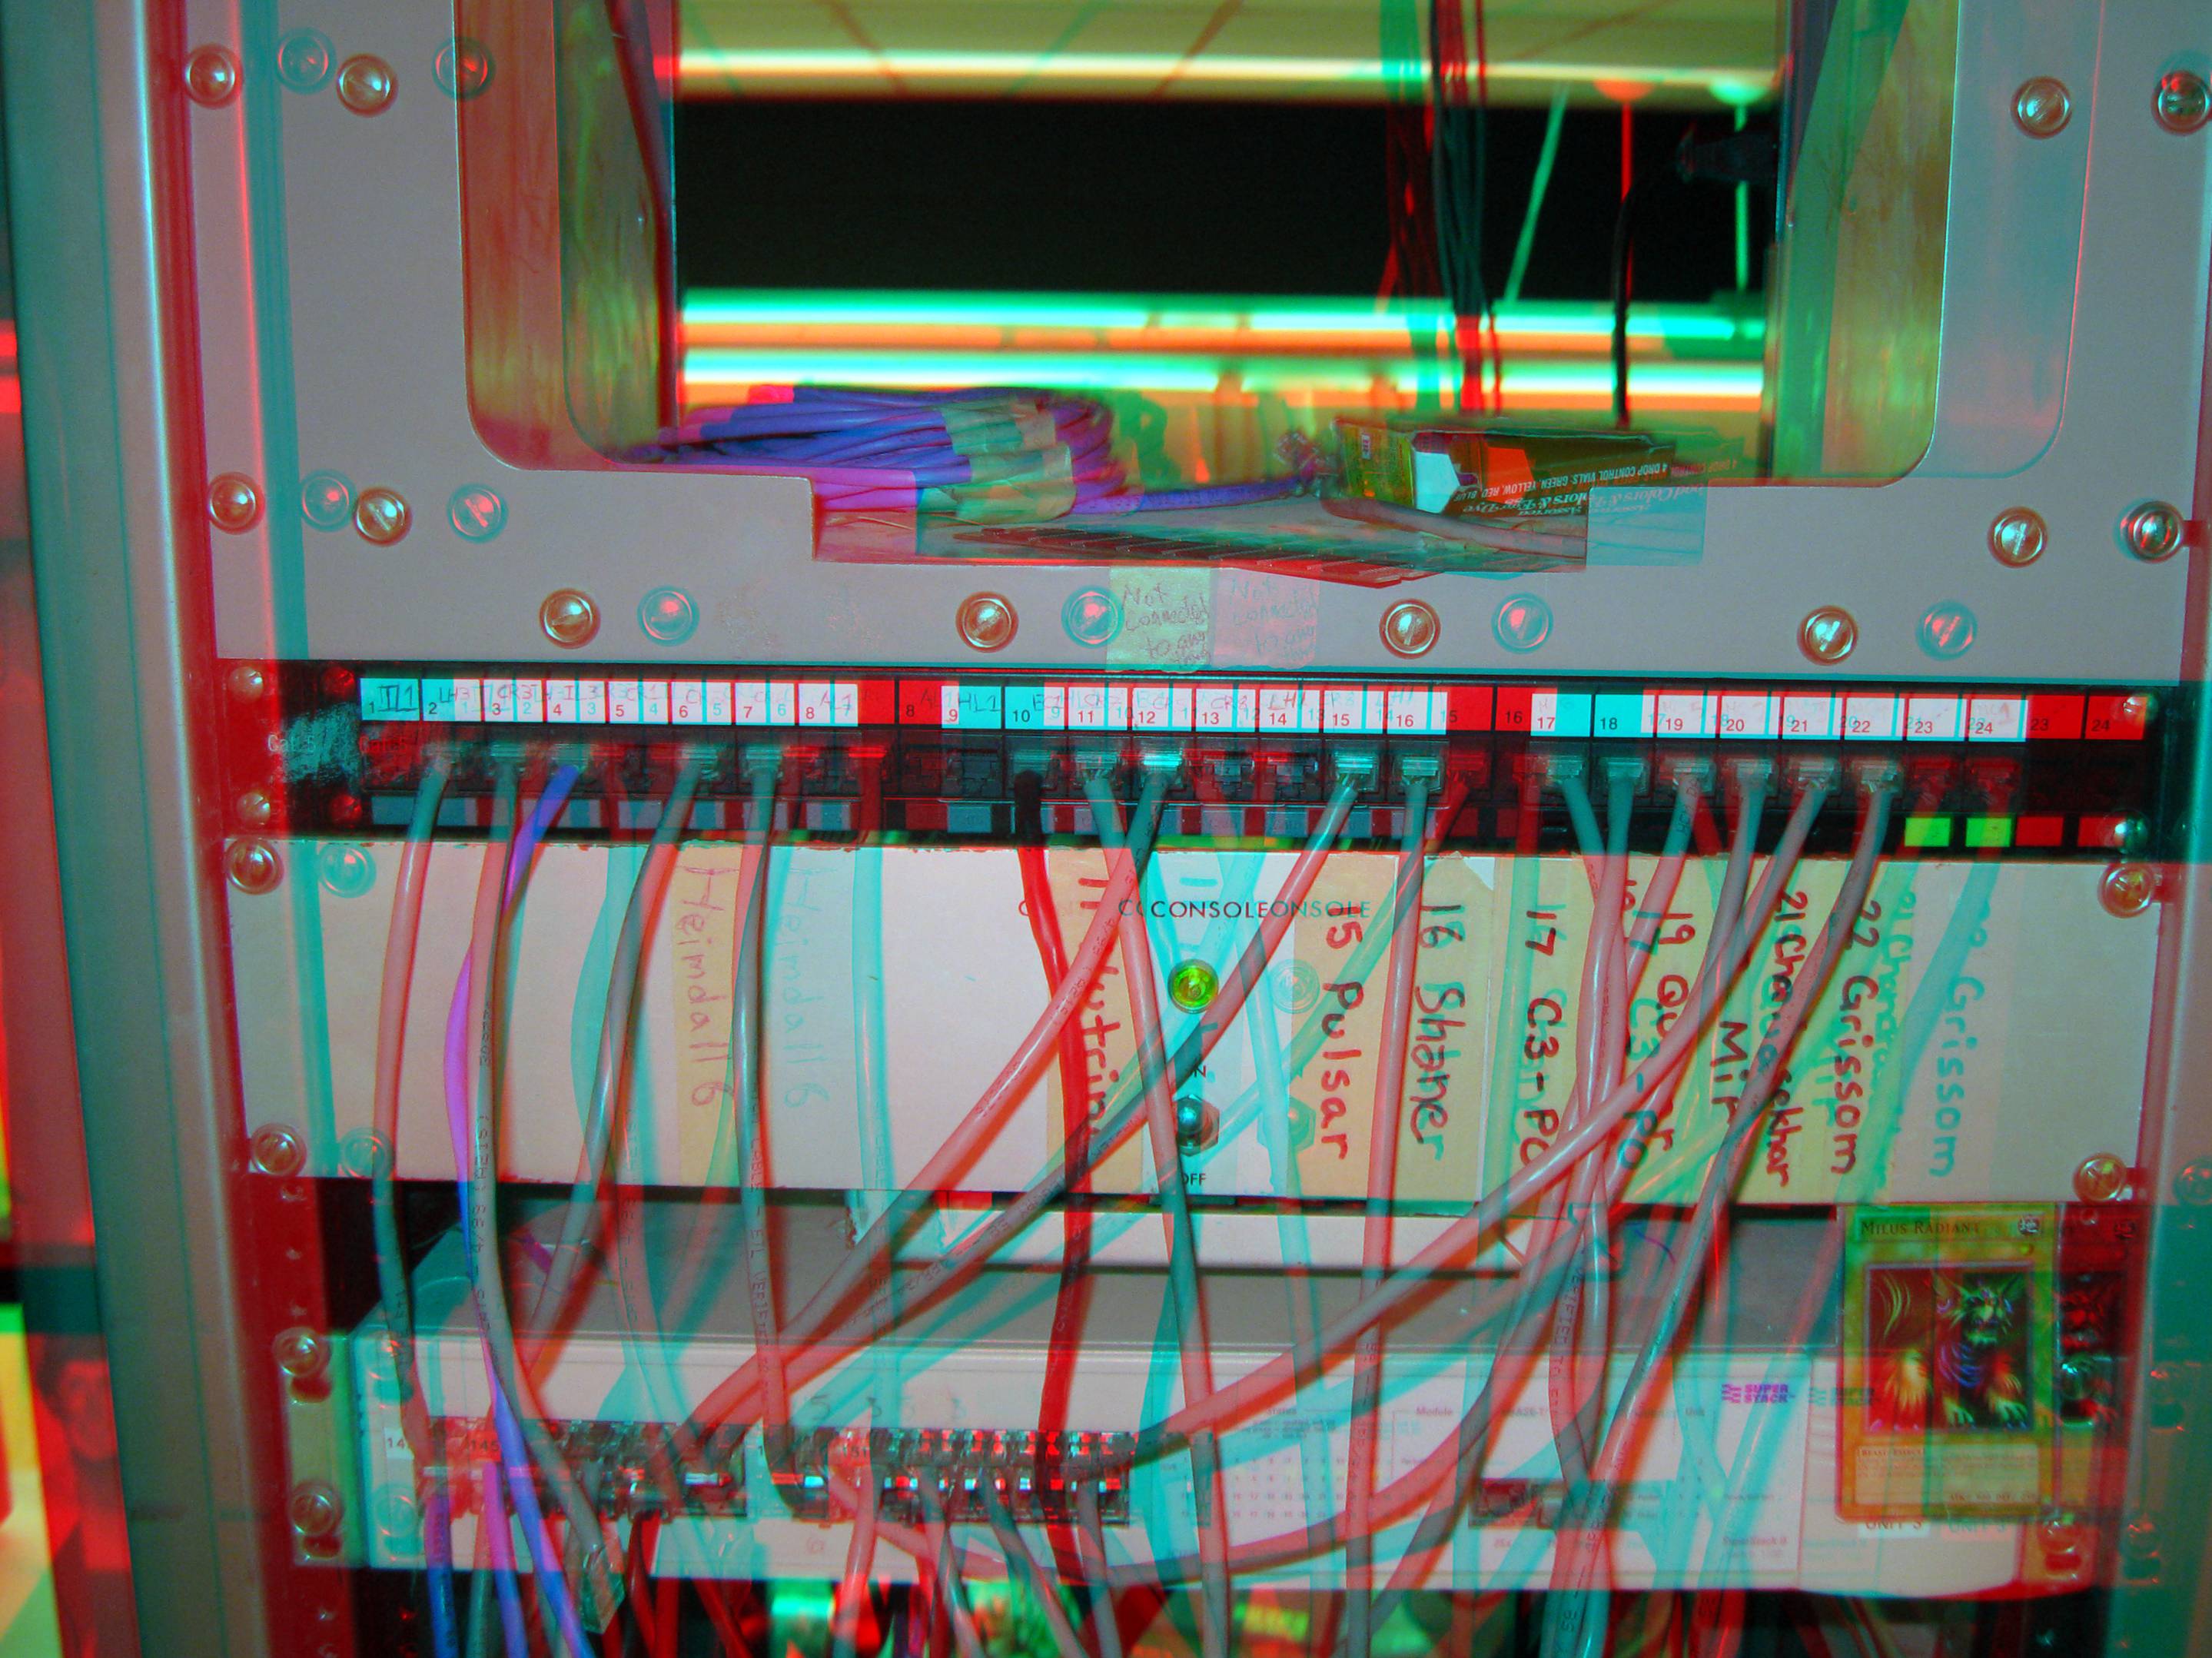
| + | [[Image:Network Switch 3D.jpg|center|thumb|500px|A picture of the network switch at 440 Albert street]] | ||
| + | |||
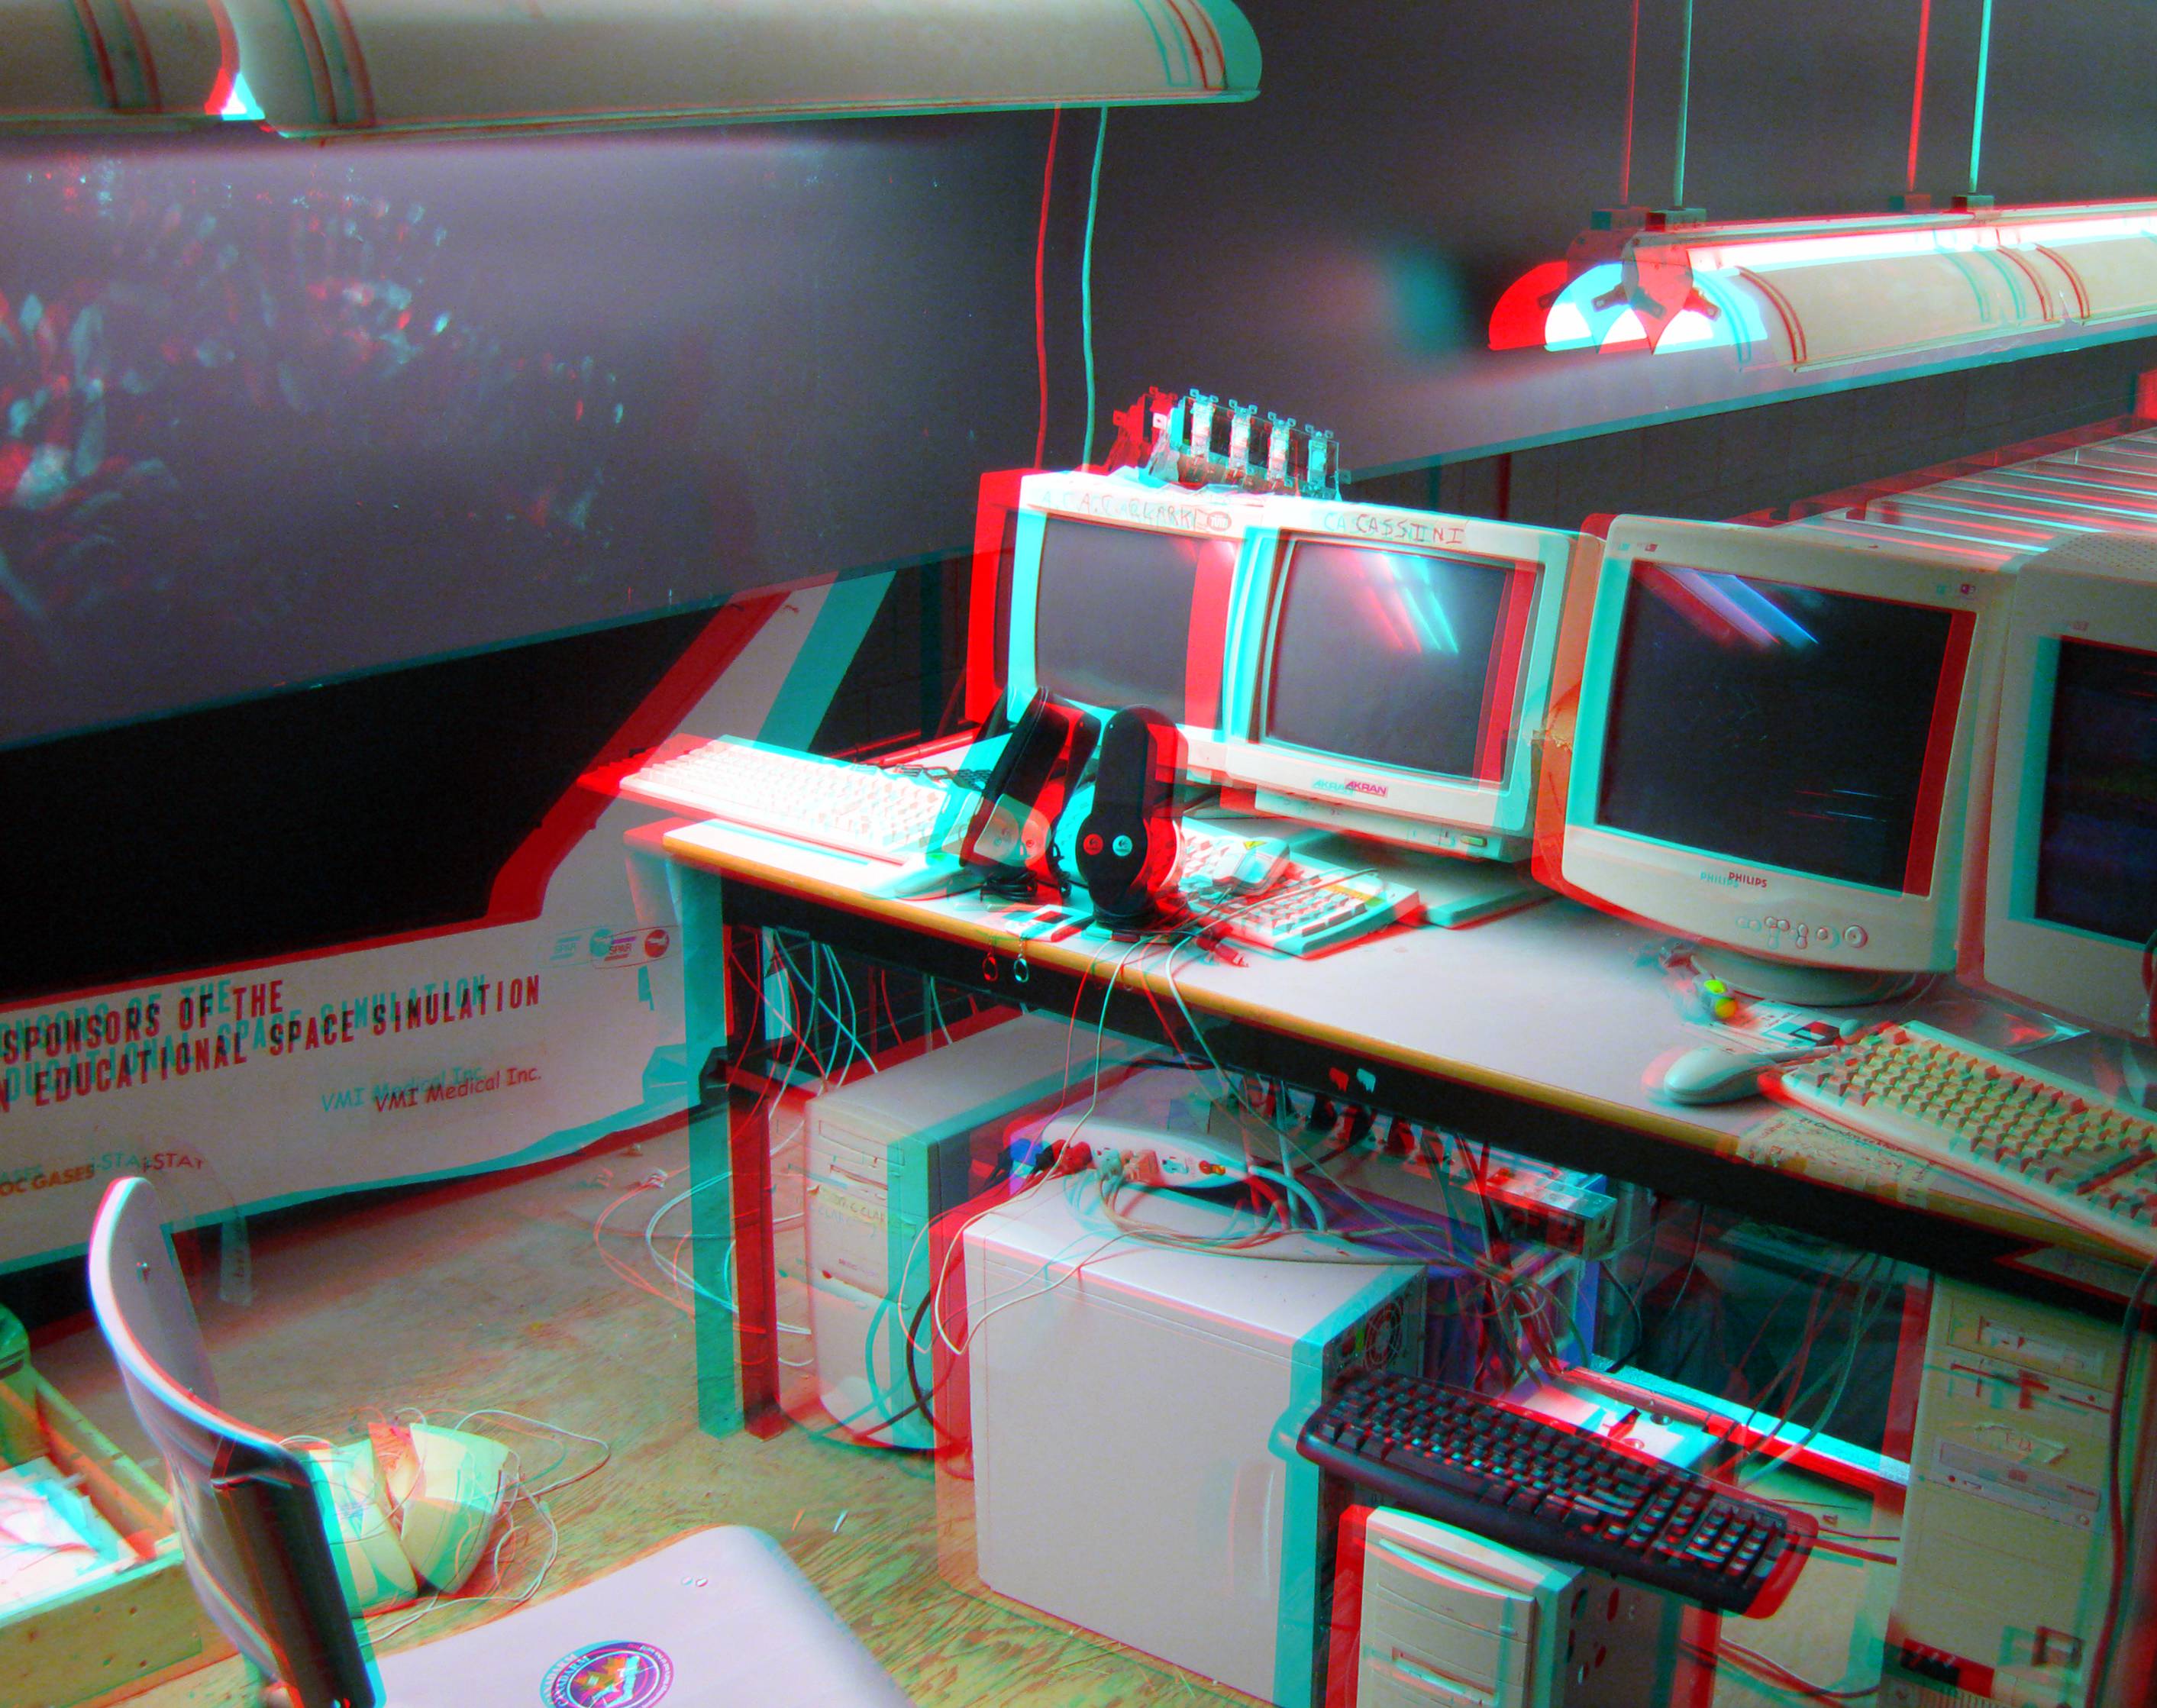
| + | [[Image:Sim Area 3D.jpg|center|thumb|500px|A picture of the Simulator Loft at 440 Albert street]] | ||


